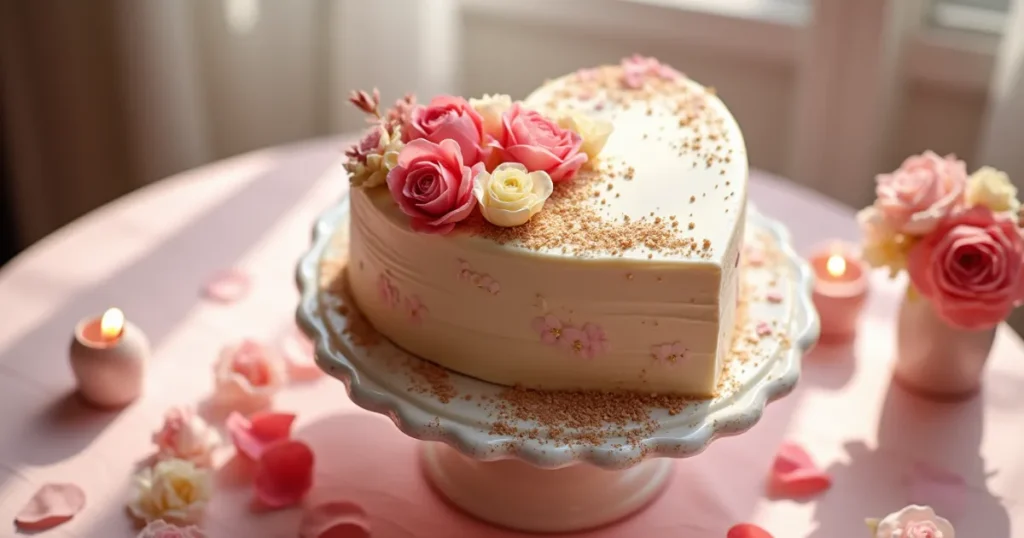
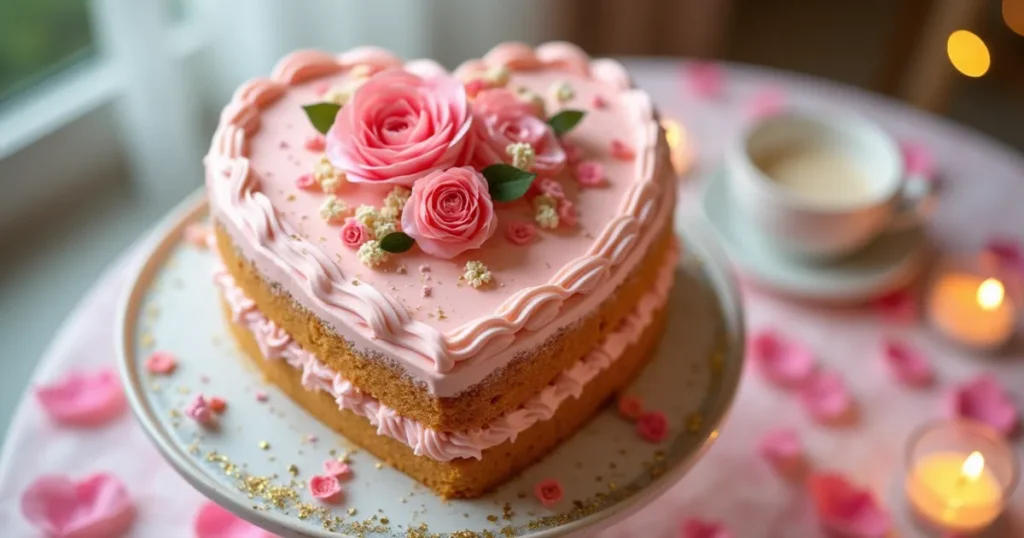
Hey there, cake enthusiasts! Ever wondered how to make your baked creations speak the language of love? Well, you’re in for a treat because today we’re diving into the world of heart cakes. Whether you’re a baking novice or a pastry pro, this guide will have you whipping up a heart-shaped masterpiece that’s sure to make someone’s day extra sweet.
Why Heart Cakes Are Stealing Our Hearts
Let’s face it, there’s something undeniably charming about a heart-shaped cake. It’s like giving a hug in dessert form. These cakes aren’t just for Valentine’s Day anymore—they’re perfect for anniversaries, birthdays, or just because you want to show someone you care. Plus, they’re a great way to flex those creative muscles and impress your friends and family.
The Versatility of Heart Cakes
Heart cakes can be customized for any occasion. Here are some ideas:
- Valentine’s Day: A classic red velvet heart cake with cream cheese frosting.
- Anniversaries: A rich chocolate cake layered with raspberry filling.
- Weddings: A multi-tiered heart-shaped cake adorned with fresh flowers.
- Birthdays: A funfetti cake with colorful frosting that screams celebration.
No matter the event, a heart cake adds a personal touch that store-bought options simply can’t match.
The Anatomy of a Perfect Heart Cake
Before we roll up our sleeves and get baking, let’s break down what makes a heart cake truly special:
- Shape: Obviously, it’s all about that heart silhouette.
- Texture: We’re aiming for moist and tender, not dry and crumbly.
- Flavor: From classic vanilla to decadent chocolate, the sky’s the limit.
- Decorations: This is where you can express your artistic flair and make the cake uniquely yours.
Choosing the Right Recipe
When it comes to baking a heart cake, selecting the right recipe is crucial. You can go for:
- Traditional Vanilla Cake: A timeless favorite that pairs well with any frosting.
- Chocolate Cake: A decadent option that’s sure to please any chocolate enthusiast.
- Red Velvet Cake: A festive option that adds color and flavor.
- Lemon Cake: Light and refreshing, ideal for spring celebrations.
Each option has its unique charm and can be tailored to suit your taste preferences.

Getting Started: The Basics of Heart Cake Baking
Alright, let’s get down to business. Here’s what you’ll need to create your own heart-shaped wonder:
Essential Tools and Ingredients
Tools:
- Two 8-inch round cake pans (or one heart-shaped pan if you’re fancy)
- A serrated knife for shaping
- Buttercream frosting (homemade or store-bought)
- Decorating tools (piping bags, spatulas, etc.)
- Offset spatula for smooth frosting application
- Cake board or serving plate
Ingredients:
Here’s a basic recipe for a vanilla heart cake:
- 2 ¾ cups all-purpose flour
- 2 ½ teaspoons baking powder
- ½ teaspoon salt
- 1 cup unsalted butter (softened)
- 2 cups granulated sugar
- 4 large eggs
- 1 tablespoon vanilla extract
- 1 cup whole milk
Step-by-Step Instructions
Now that we have our ingredients ready, let’s get started with the baking process!
Step 1: Preheat Your Oven
Begin by setting your oven temperature to 350°F (175°C). This will help ensure that your cakes cook thoroughly.
Step 2: Prepare Your Cake Pans
Prepare two round cake pans (8-inch) by coating them with butter and dusting with flour, or line the bottoms with parchment paper for easy removal[1][6].
Step 3: Mix the Batter
In a large mixing bowl, beat together the softened butter and granulated sugar until the mixture is light and airy—this should take about 3 to 5 minutes. This step is crucial as it incorporates air into your batter, making your cake light and fluffy.
Next, incorporate the eggs one at a time, ensuring each egg is fully mixed in before adding the next. Then mix in the vanilla extract until everything is well blended.
In another bowl, combine the flour, baking powder, and salt using a whisk. Incorporate this dry mixture into your wet ingredients, alternating with whole milk. Begin and end with the dry ingredients to ensure proper consistency[1].
Step 4: Bake the Cakes
Pour the batter evenly into your prepared pans. Place them in the preheated oven for approximately 25–30 minutes, or until a toothpick inserted into the center comes out clean. The edges should begin to separate from the sides of the pan.
Once baked, allow them to cool in their pans for about 10 minutes before carefully transferring them to wire racks to cool completely.
Frosting Your Heart Cake
Once your cakes are completely cooled down (and patience is key here), it’s time to frost! This is where you can showcase your individual style and creativity. Here are some tips for achieving that perfect finish:
Step 5: Prepare Your Frosting
You can use store-bought frosting or whip up some homemade buttercream. Here’s an easy recipe:
Homemade Buttercream Frosting Recipe
- 1 cup unsalted butter (softened)
- 4 cups powdered sugar
- 2 tablespoons heavy cream
- 1 teaspoon vanilla extract
In a large bowl, beat together softened butter until creamy. Gradually add powdered sugar while mixing on low speed until combined. Add heavy cream and vanilla extract; beat on high speed until fluffy.
Step 6: Apply Crumb Coat
Start with a crumb coat to lock in those pesky crumbs. Spread a thin layer of frosting over the entire cake using an offset spatula. Chill in the refrigerator for about 30 minutes to set this layer.
Step 7: Final Frosting Layer
After chilling, apply a thicker layer of frosting over the entire cake using an offset spatula or bench scraper for smoothness. Take your time with this step; it significantly impacts the final appearance!

Decorating Your Heart Cake
Now for the fun part—decorating! Here are some suggestions to spark your imagination:
Decorating Ideas
- Ombre Effect:
- Use different shades of frosting that fade from dark at the bottom to light at the top.
- Apply each shade in layers using an offset spatula.
- Piped Rosettes:
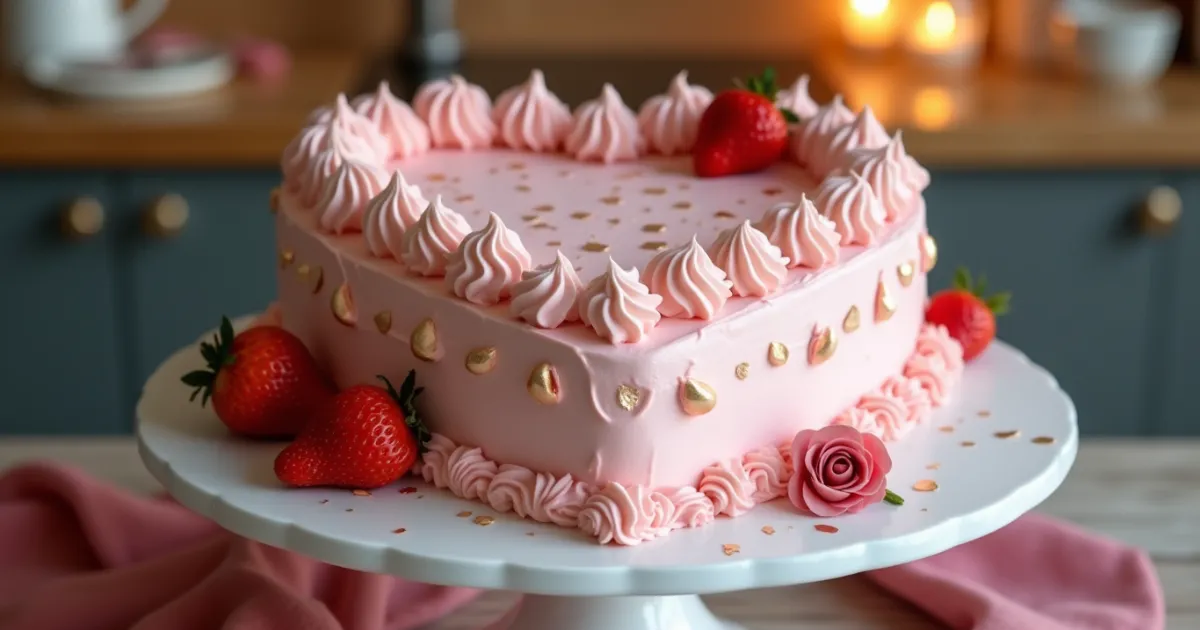
- Use a star piping tip to create beautiful rosettes all over your cake.
- Choose colors that complement each other for added visual appeal.
- Naked Cake Style:
- Leave some of the sides of the cake exposed for a rustic look.
- This style is perfect if you want less frosting but still want it to look beautiful!
- Fondant Designs:
- Roll out fondant to create decorative elements like flowers or hearts.
- Fondant can also be used to cover an entire cake for a sleek finish.
- Fresh Flowers or Fruits:
- Decorate with edible flowers or fresh fruits like strawberries or raspberries.
- This adds color and freshness while keeping things simple.
- Personalized Messages:
- Use piping gel or melted chocolate to write a custom message on your cake.
- Get creative with your wording to make it extra special.
FAQ: Heart Cake Edition
Let’s tackle some common questions about baking and decorating heart cakes!
Frequently Asked Questions
Q: Can I use a box mix for my heart cake?
A: Absolutely! Sometimes convenience is key. Just jazz it up with some extra vanilla or almond extract for that homemade taste.
Q: How can I ensure my cake doesn’t stick to the pan?
A: Properly greasing and flouring your pans or using parchment paper are effective methods to prevent sticking[2][6].
Q: Can I make a heart cake without special pans?
A: You bet! Just follow the shaping technique I mentioned earlier—it’s like cake Tetris!
Q: How far in advance can I make a heart cake?
A: You can bake layers up to two days ahead; just wrap them tightly in plastic wrap and freeze them until you’re ready to decorate.
Q: What should I do if my cake cracks?
A: Don’t worry! You can cover cracks with frosting or decorative elements like fruit or flowers—no one will know!
The Sweet Finish
Creating a heart cake is more than just baking—it’s an act of love. Whether you’re celebrating an anniversary or simply want to brighten someone’s day, remember that every bite carries warmth and affection.
And hey, even if your cake doesn’t turn out picture-perfect (which happens!), it’s still made with love—and probably tastes amazing! Remember, the true value of your creation lies in the effort and care you’ve put into it.
Final Thoughts
Baking is not just about following recipes; it’s about creating memories and sharing joy with others. So go ahead—preheat that oven and get ready to spread some sweetness!
Whether you’re making it for someone special or treating yourself (because why not?), enjoy every moment of this delicious journey. Happy baking!

